|
|
||||||
|
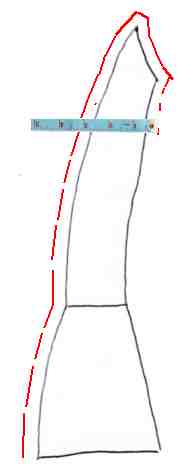
You now should have tracings of the 4(or 5) basic pieces and they should look something
like one of these, depending on your style and body shape.
NOTE: A bodice made in this manner has very little wearing ease! The bodices in this era fit very closely and you will have to learn to move a bit differently with a properly fitted bodice. If you are uncomfortable in very tight fitting bodices, you may want to add the 3/4" seam on the underarm to Front seam allowances but only take 1/2" when sewing your muslin up. This should give you 1" of wearing ease. (1/4" on each seam allowance on two front to underarm seams .25 x 4 =1") if you think you will wish more than this use a 3/4 seam allowance on the undearm/sideback seam as well on both pieces or the back underarm/front underarm seam if you have opted for the larger bust size style. Only let this seam out if absolutely necessary for movement. Your assignment for this lesson is simply to complete your basic sloper so that it will be ready to cut your muslin next week. If you are taking the class for a certificate- a photo of your muslin on you or the dress form will be required. Once you have your seamlines traced you are ready to cut your muslin - For lesson 3 have your fabric, tracing wheel/paper, scissors and sewing machine ready! It would be nice to have a friend to help check the fit after the muslin is sewn up as well! Lesson 2 - Page 10
|
||||||
|
Copyright 2001 by Marna Jean Davis. All contents of the websites associated with
the lessons of Marna Jean Davis and Shooting Star Enterprises are protected by U.S. copyright laws. They may be
printed out by registered students for their own personal use but may not be reprinted in any other manner or reproduced
in any form. Having problems with this webpage contact: questions@costumeclassroom.com |